The status of a test case in a test run is, when executing the test cases per test step, automatically determined from statuses of the test steps in the test case. During the execution of a test run, you can change the status of each test step using the buttons behind the step (see also Perform test run). At that moment the test case status is automatically updated. This status is displayed behind the test case.

The automatic determination of test case status works as follows:
| Situation | Test case status |
| None of the steps have been carried out | Not started |
| At least one step has not been performed and all performed steps have the status Ok or Skipped | Started |
| All steps have been performed and have the status Ok or Skipped | Ok |
| One or more steps have the status Not Ok | Not OK |
| All steps have been performed and have the status Skipped | Skipped |
Resetting statuses in test runs at once
Sometimes it is convenient to reset some or all of the statuses in a test run at once. For example, for retesting the tests in a test run. An example:
In a test run with four test cases, the first two test cases have been completed. The third test case has a step with status Not OK and a blocking defect. The blocking defect is handled by a developer. That resolves the defect and the defect is given the Retest status. The retest can now be performed in two ways:
- Run the retest from the test case step that the blocking defect belongs to and if the retest is OK, continue with the next test cases in the test run;
- Run the retest from the first test case in the test run. In other words, re-run the entire test run. This requires resetting all statuses.
Resetting statuses works as follows:
- Open a test run and click on Modify.
- Open the Test Cases tab
- Select the test cases you want to reset by checking the checkboxes for those rules
- Click on the Reset statuses button at the bottom
- After confirmation, the statuses of the test cases are reset to Not Started
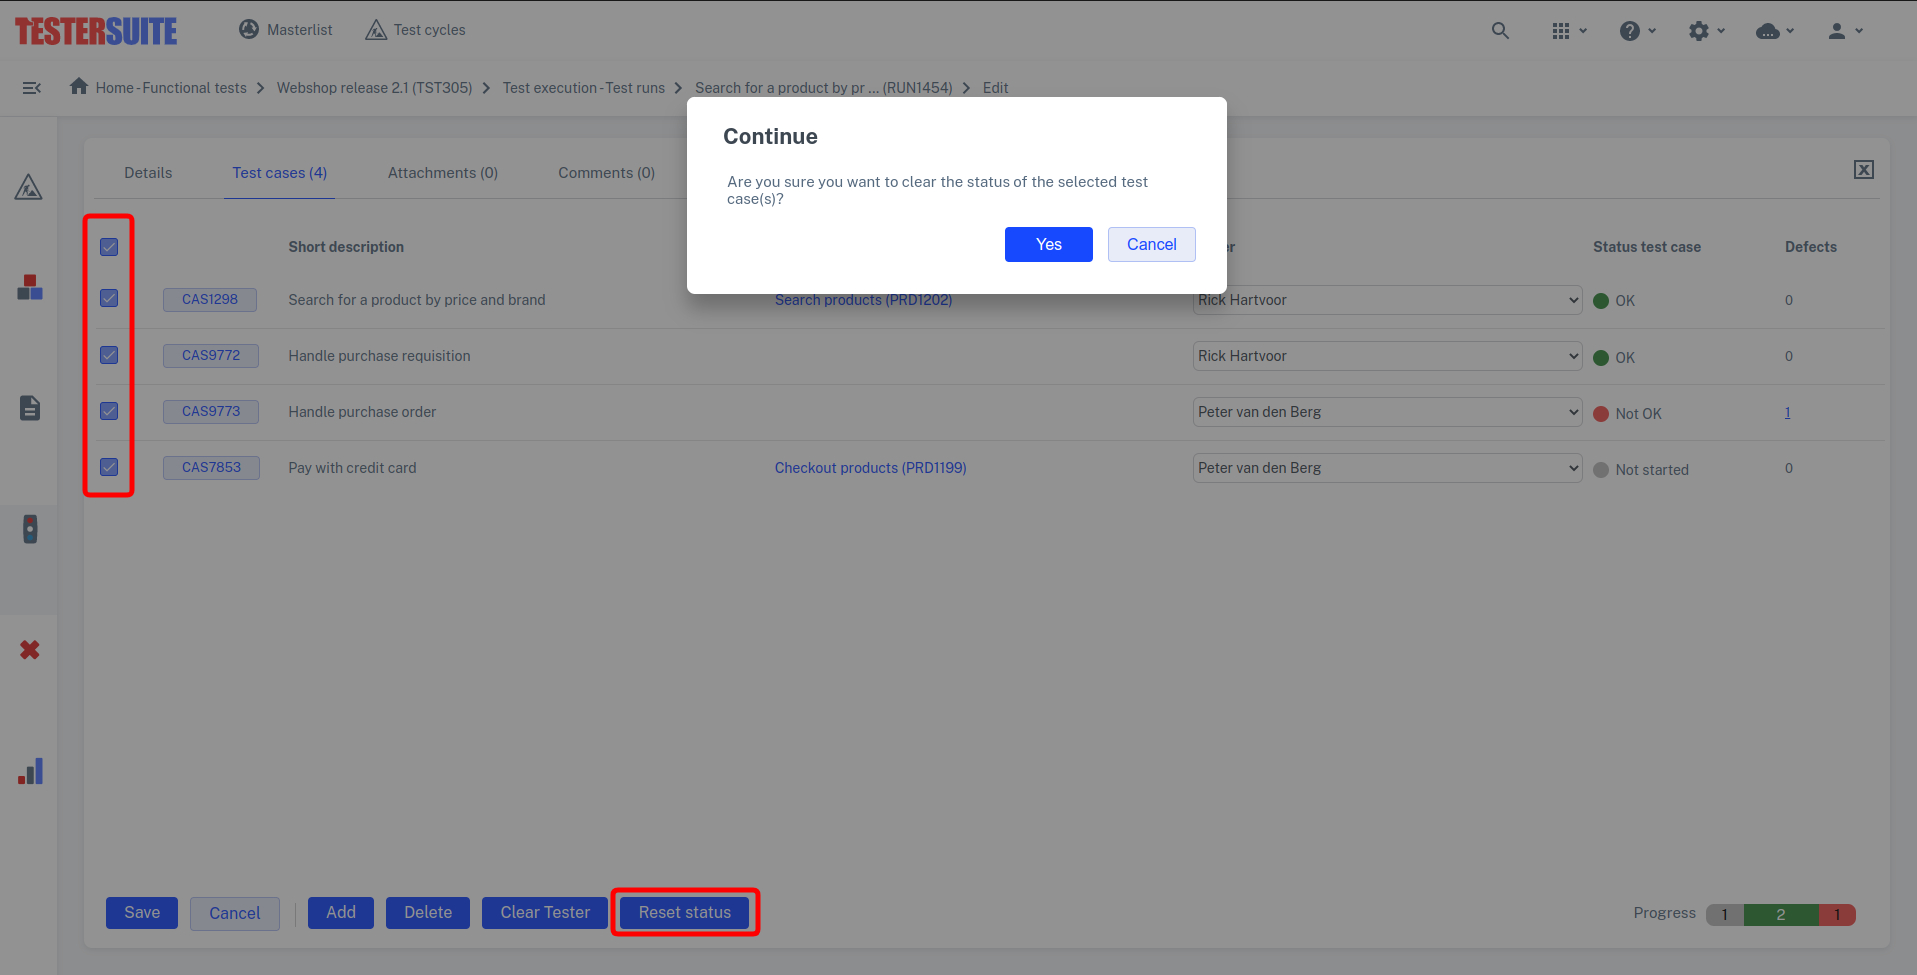
Then click Save to make the status reset permanent.