If you want to use the integration with JIRA you can easily set it up yourself in the integration module in Testersuite. Users who have the role Administrator within a Testersuite environment can access the integration module of that environment via Manage -> Integrations. Each Testersuite environment has its own settings regarding the JIRA integration. If you need help setting up the integration with JIRA please send an email to support@testersuite.nl.
Detail data
To use the JIRA connection, general data must first be entered within the desired environment(s) to create the connection. The following data is required to create a connection between Testersuite and JIRA:

- Active - Allows you to turn the JIRA integration on and off. When you click on the Information icon behind this field you will see more information about how the link works.
- Testersuite integration user - The JIRA API requires a Testersuite user to make changes to Testersuite . This requires creating a user of type Integration in Testersuite. You do this in the administrator portal. Add the integration user to the appropriate environment. The role assigned to the user in that environment is irrelevant.
- JIRA environment URL - Enter here the address (the url) of the JIRA environment you want to link Testersuite to.
- JIRA username - A user used to log into JIRA. Review the settings in JIRA for instructions/permissions.
- JIRA API key/password - When integrating with a JIRA Server environment, the password associated with the JIRA username is entered here. When integrating with a JIRA Cloud environment, an API key must be entered here. You can read how to generate an API key in JIRA here.
- JIRA webhook secret – A webhook in Jira is required to Testersuite information from Jira to Testersuite . This secret secures that information. Enter the secret here that you generate when creating the webhook in Jira. You can find instructions on how to do that on this page.
- JIRA connection status - This indicates whether a successful connection can be made to the JIRA environment based on the detail data entered.
defect fields
In the JIRA tab, you can click on the defect fields button at the top right. A list of fields will then be displayed. Here you can set the mapping between the fields in Testersuite and the fields in JIRA. Mapping is currently possible with text and single choice drop-down fields from Jira. For drop down fields, you also need to set the matching of drop down values:

Requirement fields
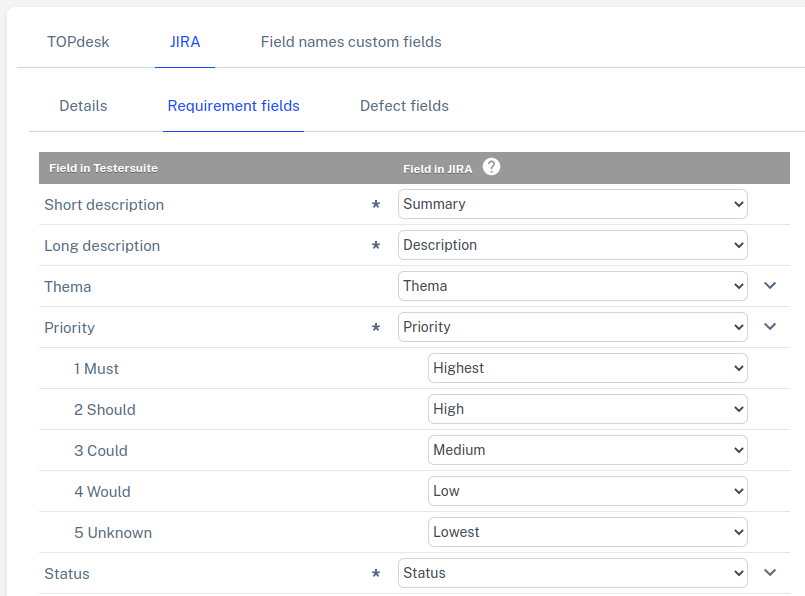
In the JIRA tab, you can click on the Requirement fields button at the top right. A list of fields will then be displayed. Here you can set the mapping between the fields in Testersuite and the fields in JIRA. For drop down fields, you also need to set the matching of the drop down values:
For both requirements and defects it is possible to synchronize custom fields. When there are custom fields they are also shown here for mapping.