Retrieve changes from TOPdesk
After the TOPdesk link has been successfully set up in the integration settings, a TOPdesk icon will become visible in the Test cycles overview. This applies to users with the role test coordinator or higher:

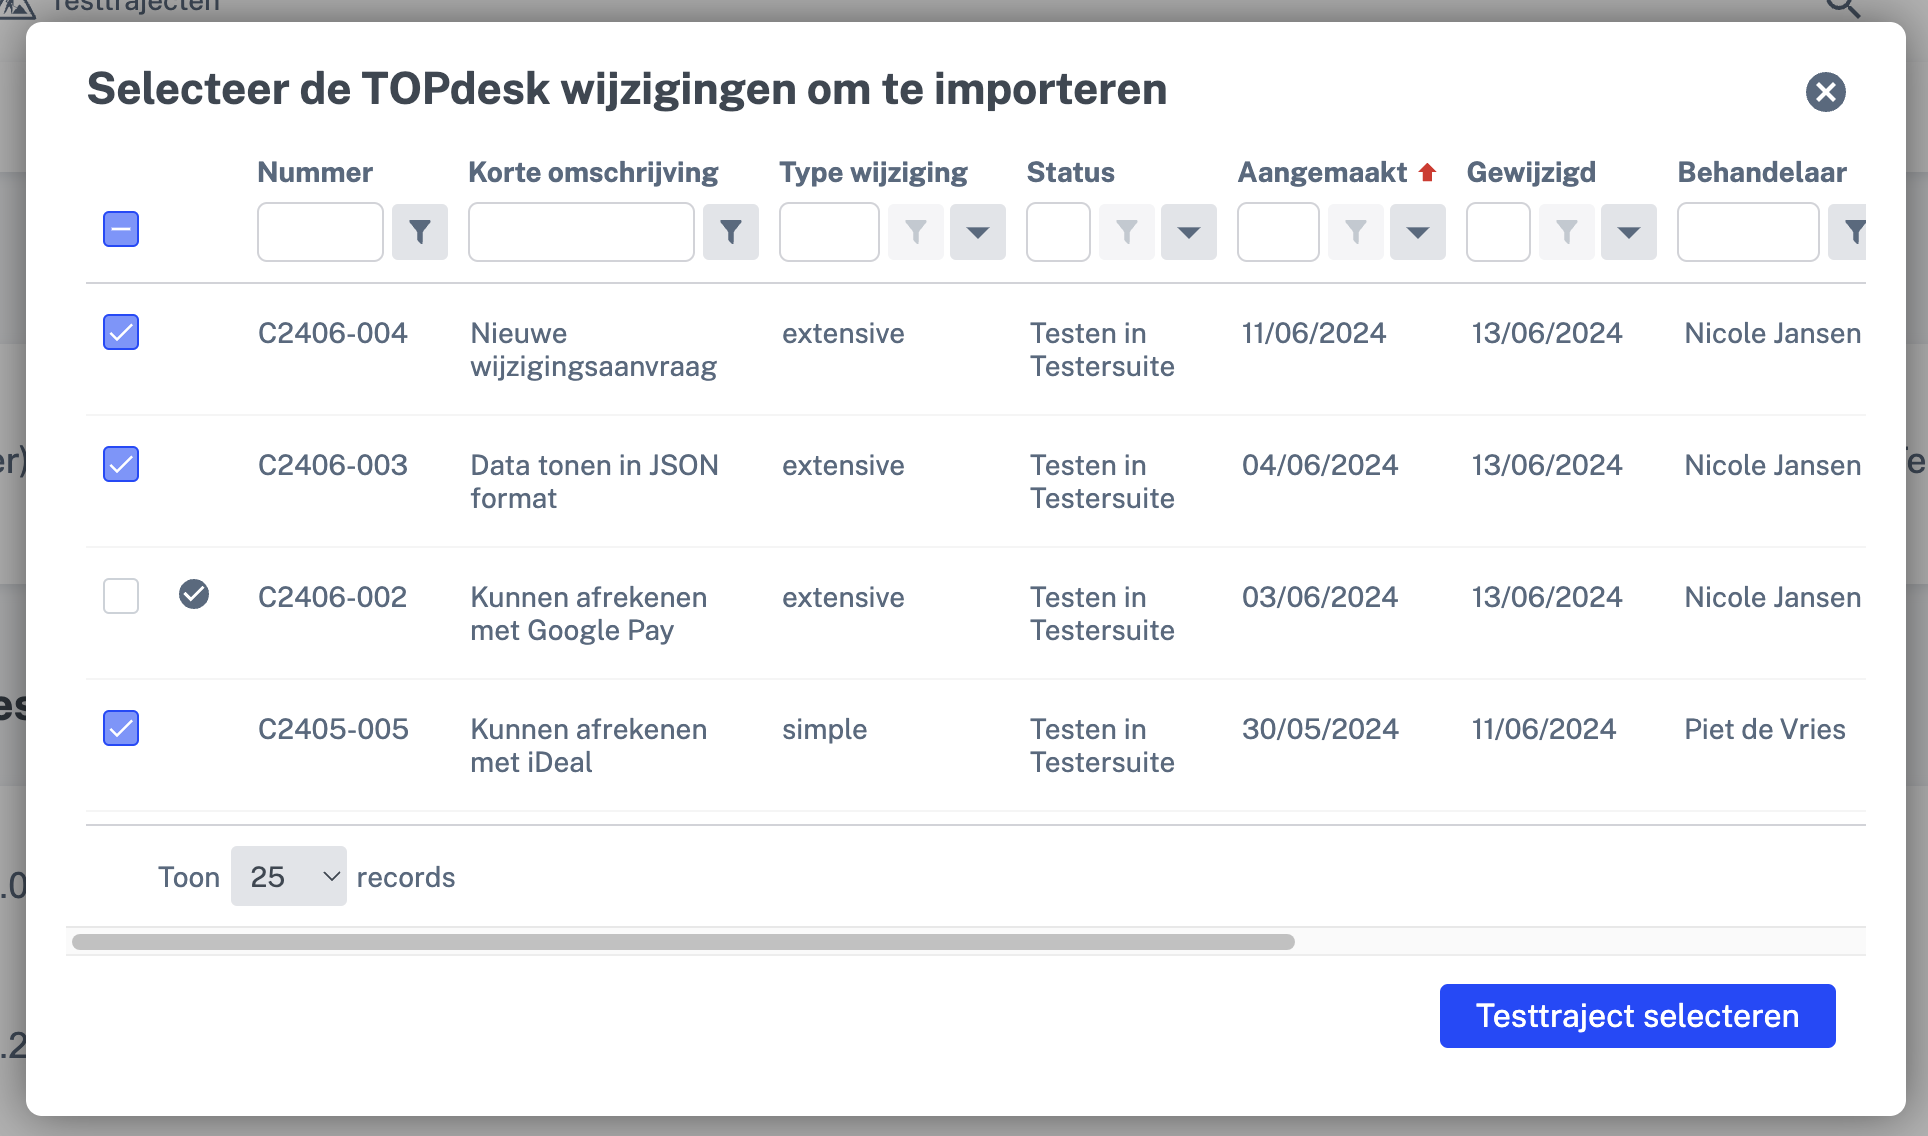
When you click on the TOPdesk logo, a list of TOPdesk changes appears that you can retrieve to Testersuite. The changes shown are open changes of type simple or extended. Change requests are not shown.
In this list, you can filter and search in various ways to find the changes you want. For example, you can retrieve only changes with a certain status, or from a certain version. Select the changes you want to test in Testersuite and click on the 'Test cycle select' button.
Test cycle select or create new
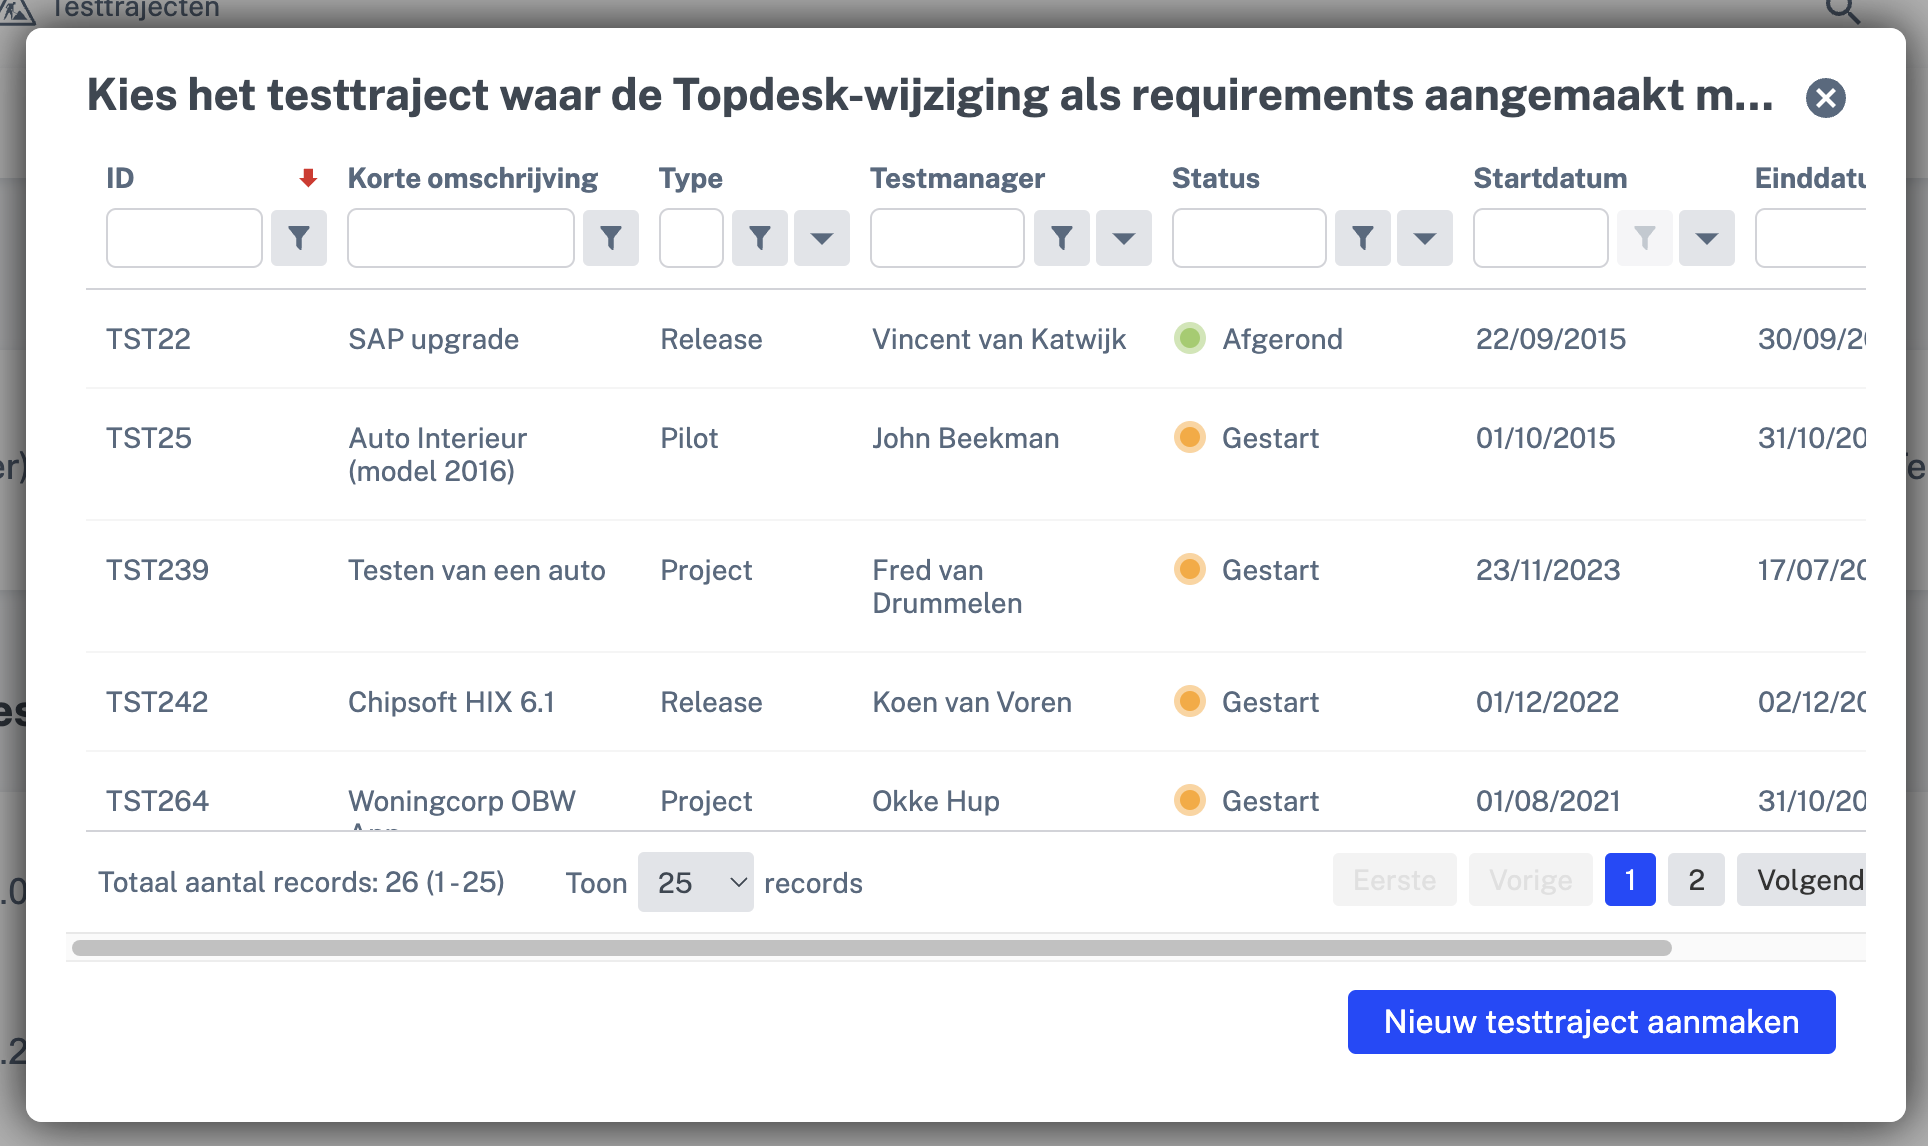
On the next screen, choose the Test cycle where the changes should be brought in. You can also choose to create a new Test cycle directly, to which the changes will be fetched.
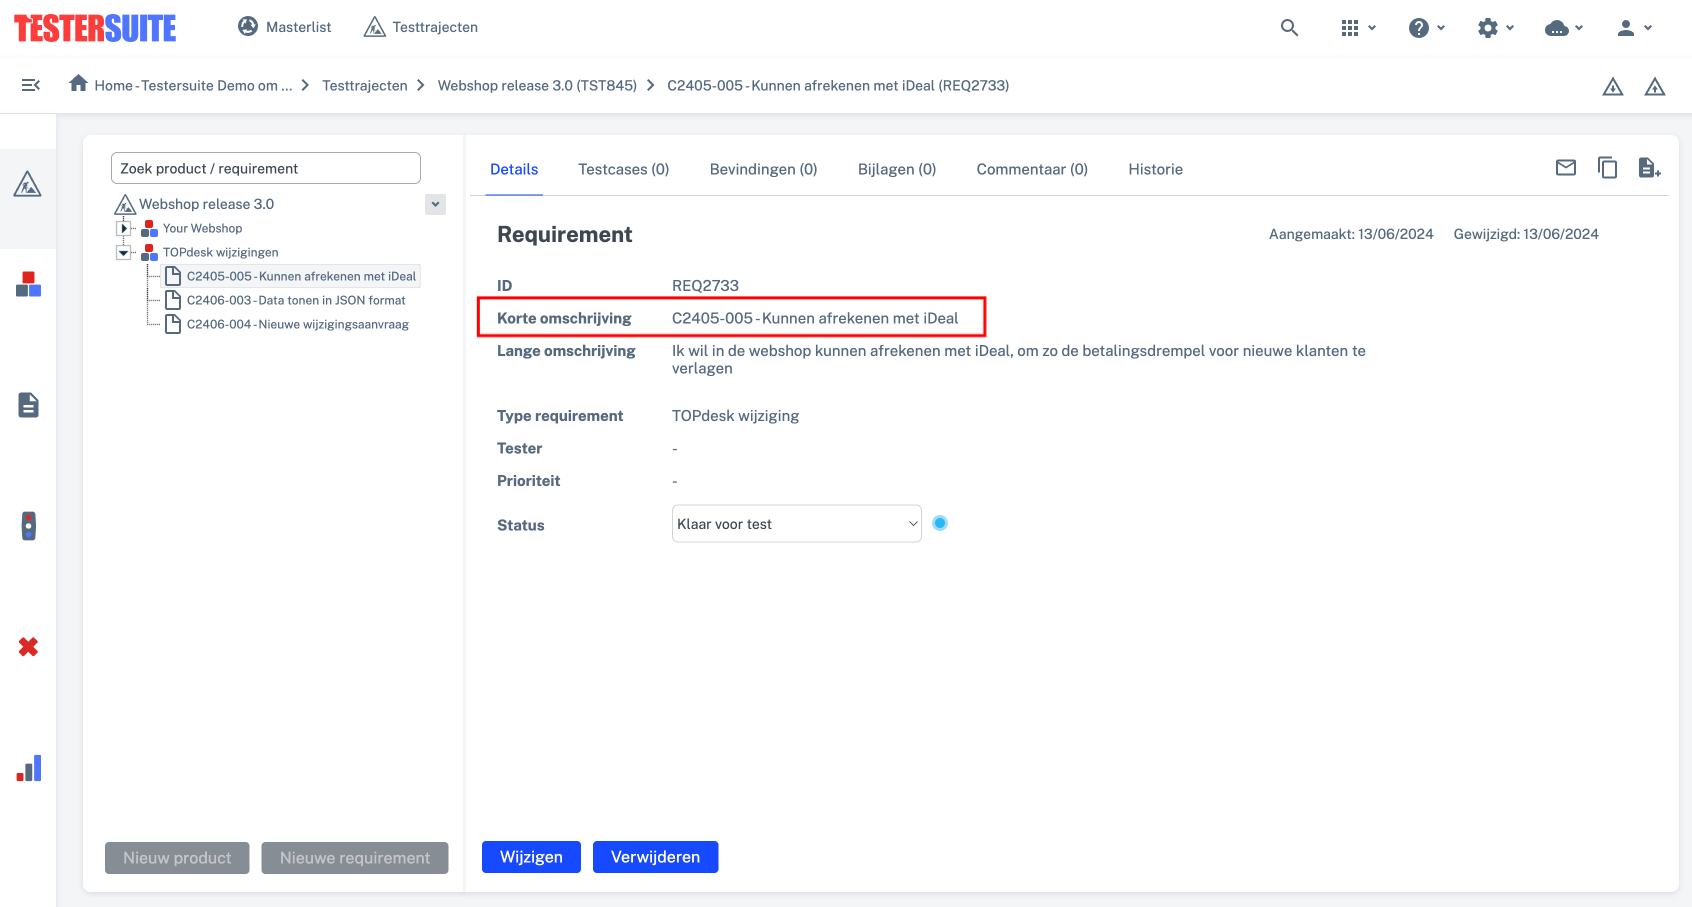
Your TOPdesk change as a requirement in Testersuite
After choosing a Test cycle , the TOPdesk changes are pulled in to Testersuite. You will be taken to the overview of the corresponding Test cycle . Here, you will find the TOPdesk changes as requirements under the product 'TOPdesk changes'. This product is automatically created when importing TOPdesk changes.
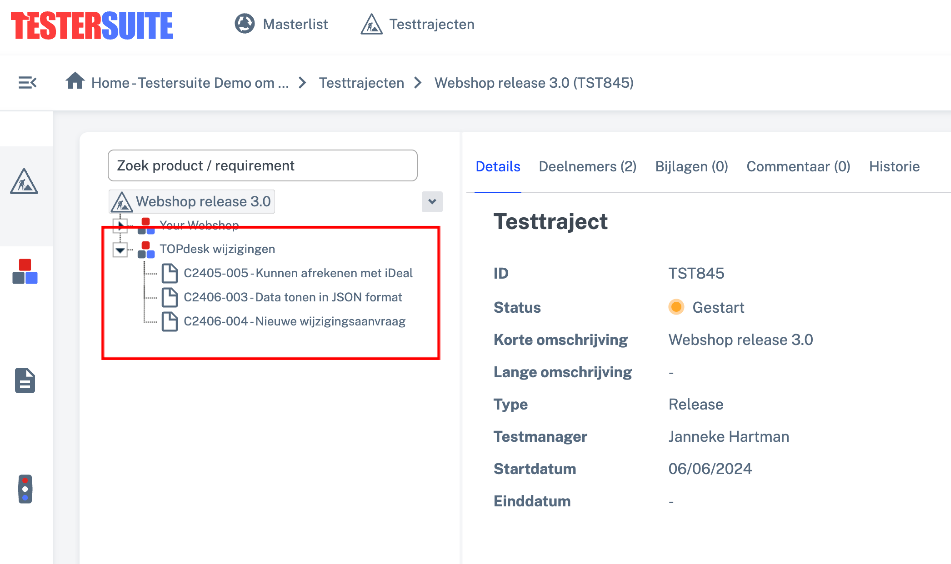
For a number of fields in the requirement, the data has been filled based on the information in the TOPdesk change. For example, the 'short description' field in Testersuite is filled with a combination of the change number and the short description in TOPdesk. The status is already determined by the status mapping as defined in the integration settings.
Hyperlink in the corresponding TOPdesk change
Retrieving the change to Testersuite places a hyperlink to the created Testersuite part in the TOPdesk change as an 'action'. This way, you can always find the corresponding Testersuite component from within TOPdesk.
Testing your TOPdesk change in Testersuite
Now you can test the requirement. Choose to do this in a more structured manner by creating test cases, or test in an exploratory manner where you record your test findings directly on the requirement you created.
Done testing
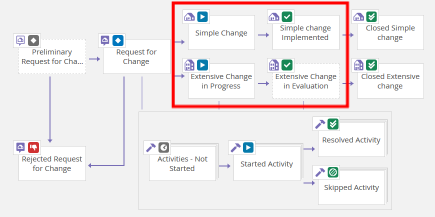
Is the change sufficiently tested through? Then adjust the status of the requirement in Testersuite. Based on the status mapping in the integration settings, this will adjust the status of the corresponding change in TOPdesk. This ensures that TOPdesk knows that your change has been thoroughly tested and that you can continue processing the change in TOPdesk.